
I noticed last summer that the wooden rack to hold the solar panels was falling apart. The heavy snow in the winter was too much and the rack did not look like it would survive another winter. I needed to replace the rack supporting the solar panels or risk losing the entire rack with solar panels. This was not a project I had on my list, but one that had to be done before winter. The pedestal and solar panel rack had performed very well over the last several years. Initially, I only had it set to an inclination of about 30° which was too low. At that angle, the snow accumulation was too much to keep clear in the winter. I raised the angle to about 40° the following year which did much better at shedding the snow.
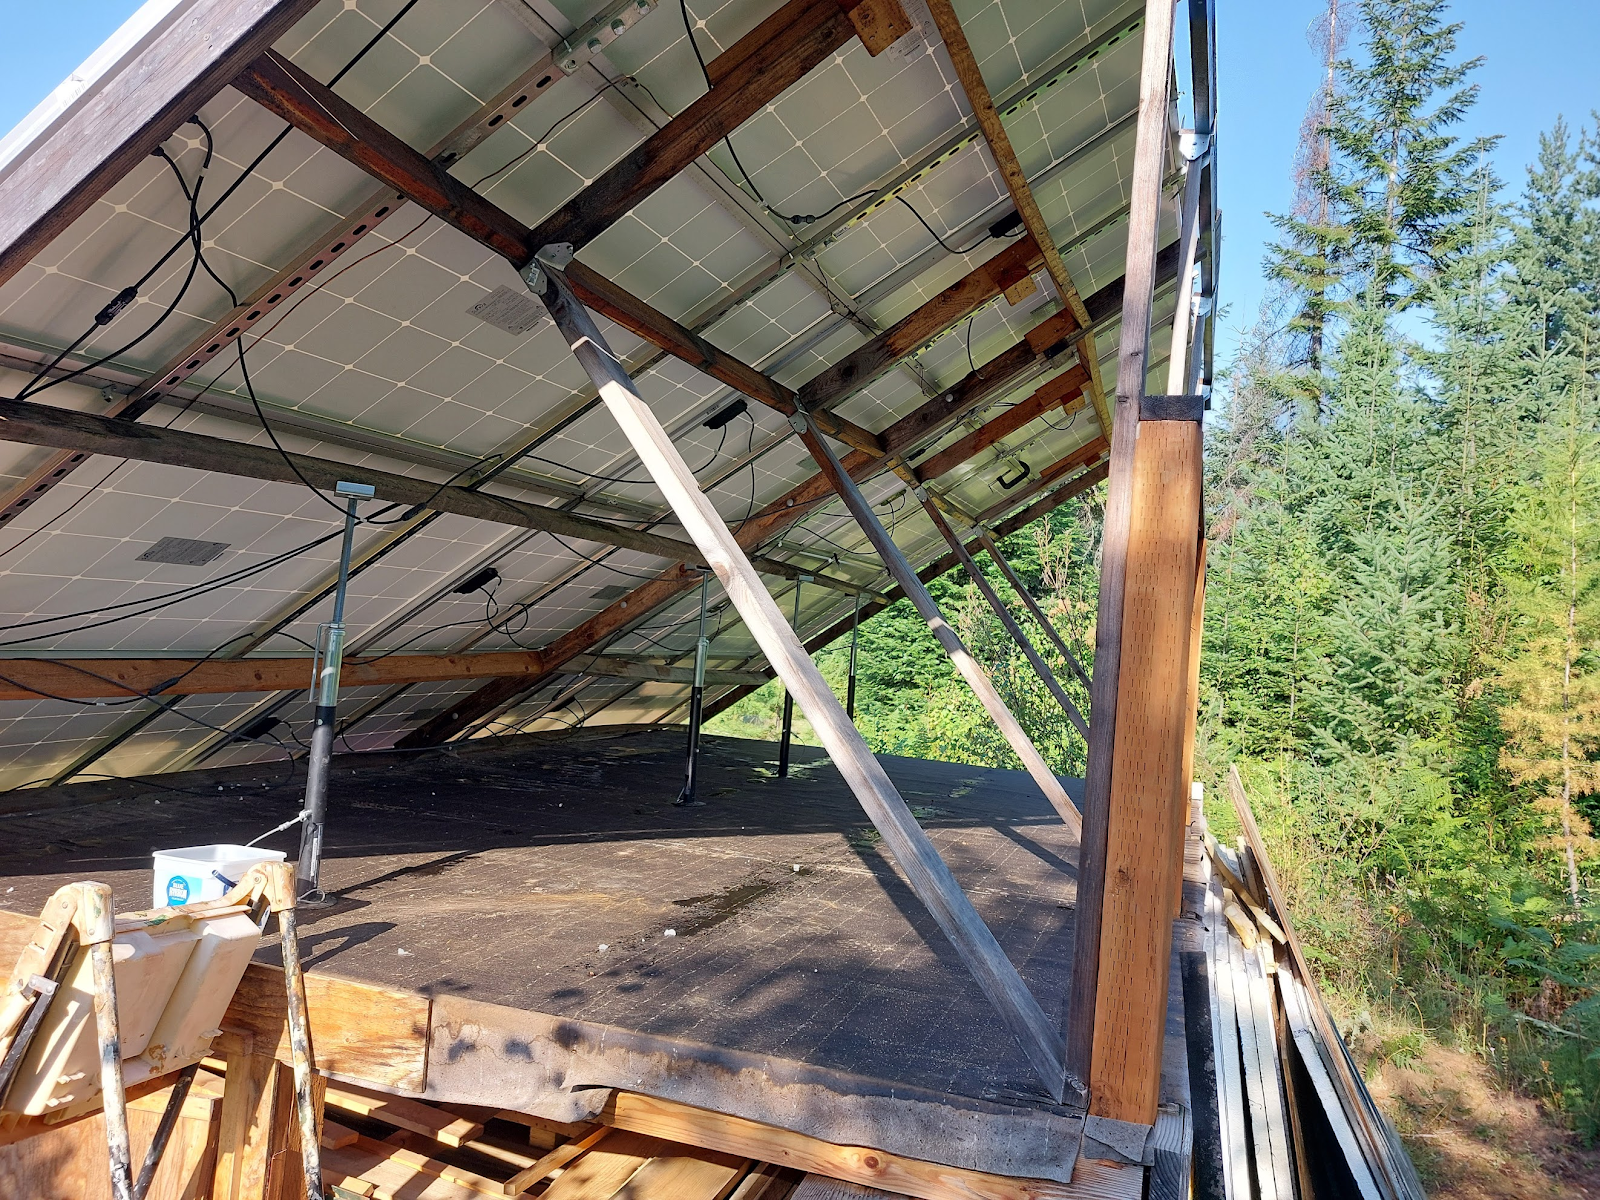
Since I had to dismantle the solar rack and all the solar panels, I thought is would be good to spend some time considering the new design and support rack. First, I decided a wood rack was just not going to hold up to the severe winters, so it had to be a metal rack, preferably aluminum to minimize the weight. Secondly, the angle had to be increased to 45° to provide better shedding of the snow. Additionally, 45° was a better average fixed angle for my latitude (48°N). Lastly, I needed to increase the base height of the rack, as I didn't account for the accumulation of the shed snow. Even though the pedestal was about 4' high, the accumulated shed snow would fill up to the bottom half of the solar panels. I decided to add another 1-1/2 feet of height to the base, which would give me about 5-6 feet on the shed side.

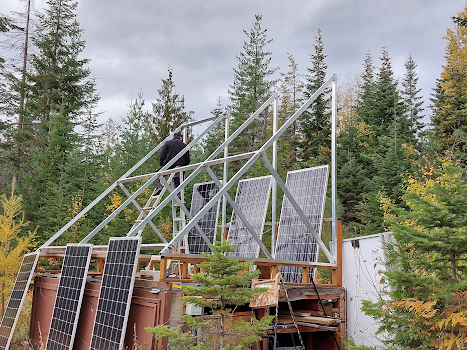
I started in about July in dismantling the old rack, I had to first uninstall all of the solar panels and wiring, then cut down the previous wood frame, all the way down to the rood of the pedestal. I then put down a shingle roof on the pedestal and build a wooden frame to place on the new aluminum supports. The supports were made at 45° angle with a support bar in the middle. I used 2"x3.5" rectangular tubing in which my son welded up for me. I placed four (4) of these main supports to the existing 4x4 supports for the pedestal. I then used aluminum crossbars bolted together to add strength and mounting surface for the solar panels.

Once I had the new base and support rack in place, I reinstalled the solar panels in four (4) banks of three (3) panels each, to match the previous installation. I got all of the panels installed except for the last 2, before winter set in. I mounted the 2 remaining panels vertically on the front of the pedestal, just to complete the electrical circuits. I plan on completing the installation in the spring once the snow melts.
The new solar rack did exceptionally well this winter. It shed the snow very well, and even when there was a lot of snow, it would shed very quickly when the sun came out. This winter was a very snowy year, we probably had between 60"-80" of snow.

I am very pleased with the new solar rack and am confident that it will hold up to the brutal winters and last us for many years.